Home » Photo Gallery » Page 9
Click Images below for a more detailed view. Individual results may vary.
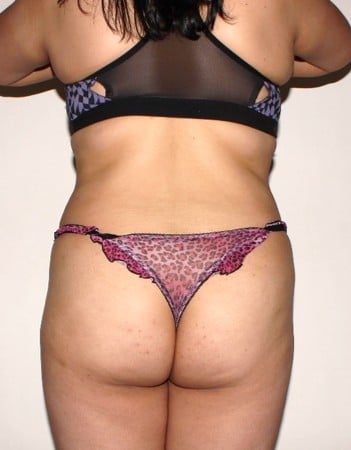
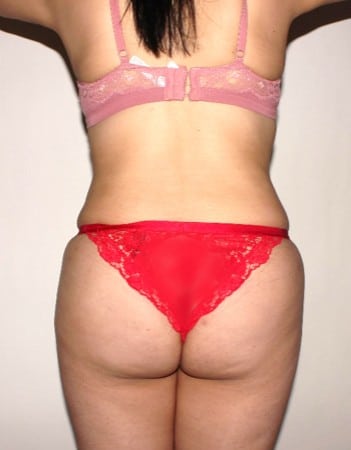
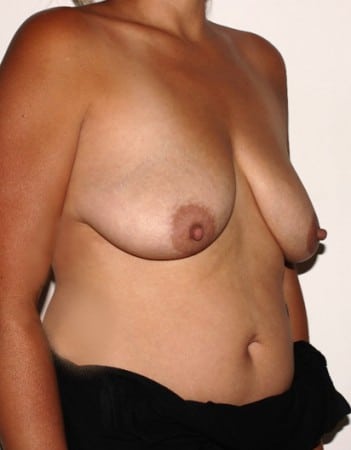
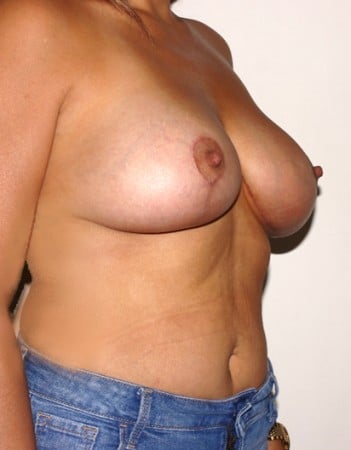
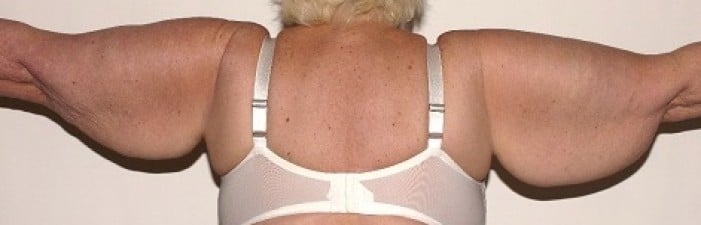
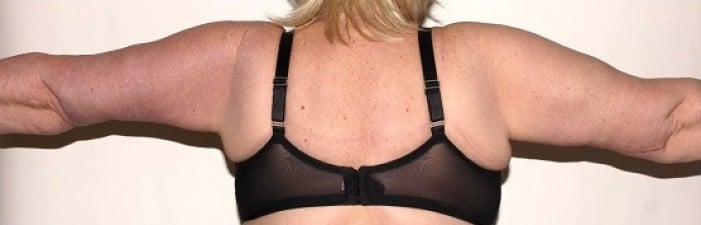
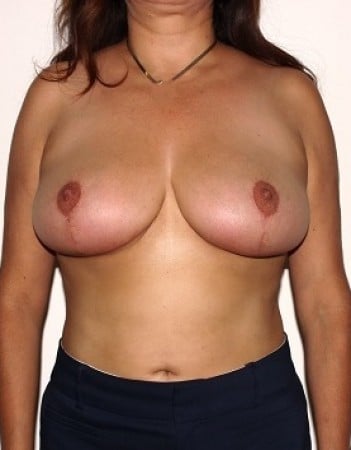
Patient #14
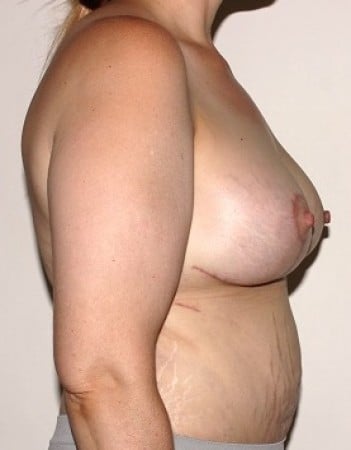
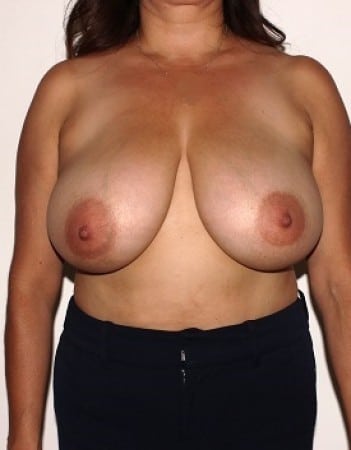
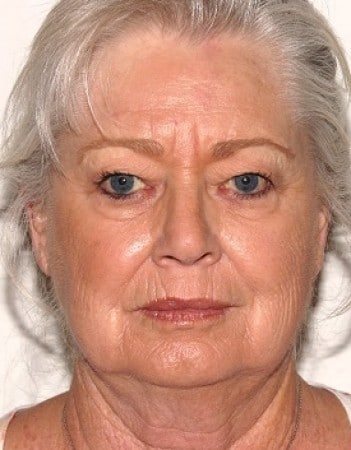
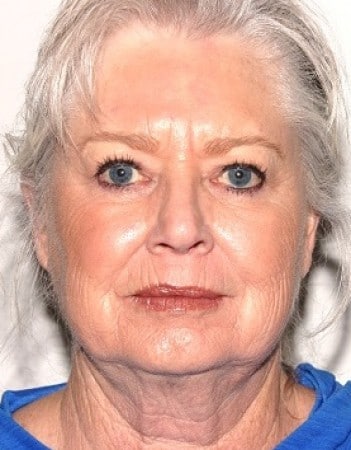
Patient # 12
Δ
Accessibility Toolbar